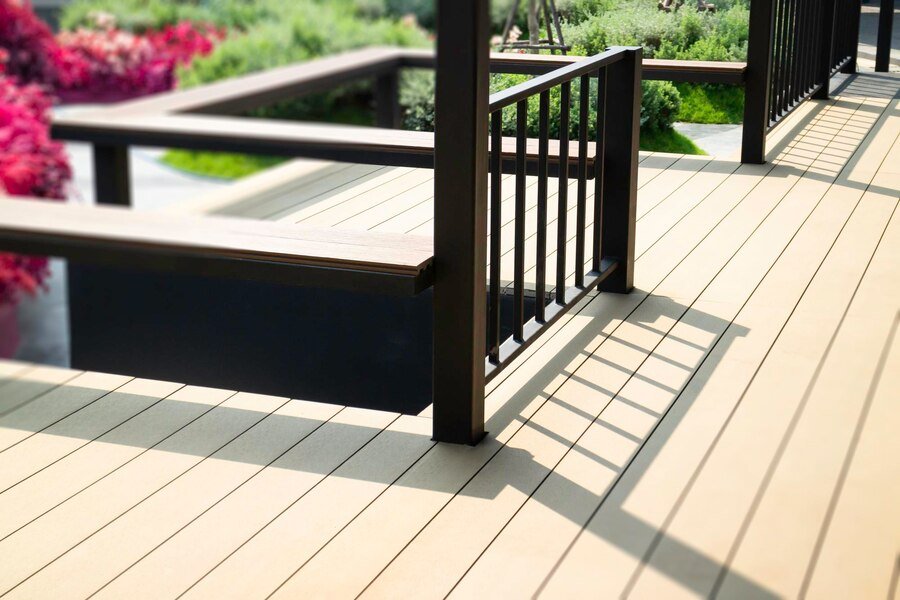
How to Repair Scratches and Stains on Your Composite Deck
Composite decking is known for its durability, low-maintenance appeal, and long-lasting performance, making it a popular choice for homeowners. But even with all its advantages, composite decking isn’t entirely immune to wear and tear. Over time, you may notice scratches or stains on your deck’s surface, which can detract from its appearance. Fortunately, repairing these imperfections is easier than you might think. Let’s show you how to tackle both minor and deeper scratches, as well as how to remove stains and keep your deck looking like new.
How to Fix Minor Scratches on Composite Decking
For minor scratches, the repair process is simple and can be done in a few easy steps:
Clean the scratched area: Start by wiping down the scratched area with warm water and mild soap. This will remove any dirt or debris that could interfere with the repair. When you purchase quality dino Decking, it can be resistant to real damage in the first place.
Sand the scratch: Gently sand the scratched area using fine-grit sandpaper. This will help smooth the edges and make the scratch less noticeable.
Wipe the area clean: Use a clean cloth to wipe away any dust or debris created during the sanding process.
Apply filler or paint (if necessary): If the scratch is still visible, you can use a composite decking filler or a touch-up paint in the same colour as your deck. Apply it carefully, and let it dry completely.
Minor scratches are usually easy to fix, and with a little patience, they’ll blend right into the surrounding area, leaving your deck looking as good as new.
How to Repair Deeper Scratches and Gouges
For deeper scratches or gouges, the repair process requires a bit more attention to detail, but it’s still manageable.
Clean the damaged area thoroughly: As with minor scratches, the first step is to clean the affected area to remove any dirt or grime.
Apply filler or wax stick: Use a putty knife to apply composite decking filler or a wax stick into the gouge. Be sure to fill it completely, making sure the filler is level with the surrounding deck surface.
Smooth the filler: After applying the filler, smooth it out so that it blends seamlessly with the surrounding area. You may need to use your putty knife or a small sanding block for this step.
Let the filler dry: Allow the filler to dry completely before sanding it down to match the texture of the deck.
Optional – Touch up with paint: If the filler is still slightly visible after drying, use a matching deck paint or stain to cover it up and blend it with the rest of the deck.
By following these steps, even deeper scratches and gouges can be repaired, restoring your deck to its former glory.
Removing Stains from Composite Decking
Stains are a common issue, especially in high-traffic areas or places where food and drink spills are frequent. Fortunately, removing stains from composite decking is straightforward.
Food or drink stains: Clean these stains as soon as possible with warm water and a mild detergent. A soft-bristled brush can help remove any stubborn marks.
Oil or grease stains: Use a deck cleaner specifically formulated for oil or grease. Avoid using harsh chemicals that could damage the surface.
Mould and mildew stains: These can be removed using a bleach-water solution (one part bleach to four parts water) or a specialised mould cleaner. Be sure to scrub gently to avoid damaging the deck.
Leaf or rust stains: Gently scrub the affected area with a brush and use an appropriate deck cleaner to lift the stain.
The key to successful stain removal is acting quickly. The longer a stain sits on your composite deck, the harder it will be to remove.
Is It Easy to Remove Mould from Composite Decking?
Mould is something that you don’t want hanging around. Unfortunately, it can grow on damp surfaces, which means that if you have a shaded decking space during the winter, you could be vulnerable to mould growth. The good thing is that it’s easy to get rid of mould from your outdoor space. With some simple cleaning, you can get the place ready for enjoying in the spring and summer months. So, let’s take a look at what you need to do so that you have a family-friendly place to hang out.
Use Warm and Soapy Water
Most mould is going to be easy to remove. In other words, all you’ll need for cleaning is warm and soapy water. You can use a soft-bristled brush to work it into the surface and scrub away the mould. Then, once you’re done, you can pour water over the decking or use a hose. Always ensure that you use soft bristles, as you don’t want to cause scratches. Additionally, avoid using boiling water.
Try a Decking Cleaner
There are products you can buy that are specially for cleaning composite decking. This can be something that you try when you want to remove mould that’s tougher to get off. However, make sure you stay away from any decking cleaners that contain bleach. While this can be tempting when you’re trying to get rid of mould, it can be damaging to composite. The best way to ensure you’re not going to damage the surface is to purchase the cleaner from the company that makes the decking.
Sweep Up Debris
When of the best things you can do is adjust the environment so that mould doesn’t grow. In particular, you should try to clean up any debris that’s left lying around. This creates a moist atmosphere where it can thrive. So, pick up leaves and remove debris throughout the year.
Conclusion
Repairing scratches and stains on your composite deck doesn’t have to be a difficult task. With the right tools and a bit of patience, you can restore your deck to its original beauty. Whether you’re tackling minor scratches or dealing with more serious gouges, these repair techniques will help keep your deck looking great. Regular maintenance and preventative measures can also help extend the life of your deck, so be sure to take care of it as needed.
